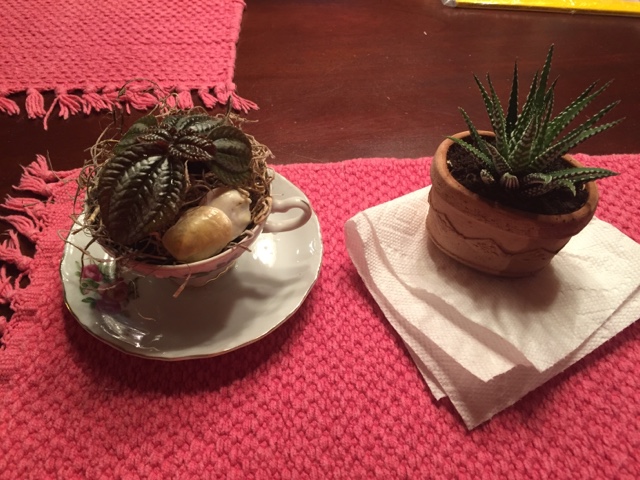
Mom and I found this beauty as we exited the nursery the other day. We'd gone to get plants to plant in our tea cup planters, and he was on the ground ... if I was a bug collector he'd have been on my wall, but I'm not, so he's not. After I took his picture I brought him back to nature.
Life is random ... and so am I. // This is a place for things and stuff. ©M.E.Hall
Sunday, July 31, 2016
My love affair with Pyrex...
I'm not one hundred percent sure when it happened, my love affair with pyrex ... and or, my love affair with the "kitchen's" of the 1950s. But I do love it. I found this nesting set, which usually goes for $150 (or more), for $60.00 ... and then, the antique owner took another $10.00 off ... so I got the whole set for $50. And I LOVE it!!!
Friday, July 29, 2016
Ducky-doo's!
Sometimes, when you go to the park to see outdoor theatre, you are also treated to the adorableness of baby ducky-doo's! And sometimes, it's even more amazing when say 30 ducks surround you and your friend on your walk back from the loo.
SO. Freaking. Cute!!!!
Sunday, July 17, 2016
July's Craft: Salt Dough Ornaments and Snowmens
It's Christmas in July!
SUCH AN EASY CRAFT!
Great fun with kids. Great fun for adults. Makes great gifts!
(***PS...I know I'm saying 'snowmens' and that's, technically, incorrect. But my niece keeps calling them that, when there are multiple, and I find it adorable.)
What you need:
Salt
Flour
Water
Rolling Pin
Cookie Cutters
Twigs - to make the snowmens arms
Toothpicks - to make the snowmens noses (if they are not already orange you can use food coloring to make regular toothpicks orange)
1 straw
Cookie tray
How to make the Salt Dough:
1 cup of salt
4 cups of flower
Roughly 1.5 cups of water
Combine ingredients in a bowl - you might need to add more water - until it forms a fairly sticky dough. Once all is combined, but still sticky, place the dough on a floured board and - using extra flour - kneed the dough until it's no longer sticky.
The Next Step:
Once you've made the dough, form your snowmen ... as many as you'd like ... and place them on a cookie tray. Roll out the remaining dough and, using the cookie cutters you've selected, cut out your ornaments.
Once the ornaments are on the tray, using the straw, make a hole where you will eventually put a string to hang it on your Christmas tree.
Baking the Snowmens and Ornaments:
Bake at 240 degrees fahrenheit for about 2 hours. When they're good and baked, remove and let cool.
Decorating your Snowmens and Ornaments:
Paint away and let them dry ... once they're dry, add googly eyes or glitter or hot glue beads/etc...onto your ornaments. Once they are fully decorated, and dry, use ribbon to add the "hanger" for each ornament.
Friday, July 1, 2016
Art. July. 2016.
"Body art" ... Or when connect the freckles goes horribly horribly ... right?!?! 7/15/16
Shell Jars - shells from Cape Cod! 7/13/16
Beach "photography"...7/7/16
Sunset on the 4th of July!
Subscribe to:
Comments (Atom)


